IS50A-1KW-RMT-IDR-D0

High-power joulemeter for laser energy measurement up to 1 kW average power. With INTEGRA (RS-232) module.

    • 50 mm Ø
    • 95 mm Ø (90 mm Ø)
    • 195 mm Ø (185 mm Ø)
    • 7.8 x 7.8 mm
    • 12 x 12 mm (9 x 9 mm)
    • 25 x 25 mm (22 x 22 mm)
    • 50 x 50 mm (47 x 47 mm)
    • 65 x 65 mm (62 x 62 mm)
    • Water
    • Convection
    • Heatsink
    • MT - High Repetition Rate
    • BL - Spectrally flat
    • MB - Standard
    • MB - Standard (tuned for long pulses)
    • MB - Standard (tuned for short pulses)
    • MT - High repetition rate (tuned for short pulses)
    • None
    • QED - High Energy Attenuator
    • Standard
    • INTEGRA (USB)
    • INTEGRA (RS-232)
    • INTEGRA (USB with external trigger)
    • BLU (wireless)
IS50A-1KW-RMT-IDR-D0 IS50A-1KW-RMT-IDR-D0 IS50A-1KW-RMT-IDR-D0 IS50A-1KW-RMT-IDR-D0 IS50A-1KW-RMT-IDR-D0 IS50A-1KW-RMT-IDR-D0 IS50A-1KW-RMT-IDR-D0 IS50A-1KW-RMT-IDR-D0 IS50A-1KW-RMT-IDR-D0 IS50A-1KW-RMT-IDR-D0 IS50A-1KW-RMT-IDR-D0 IS50A-1KW-RMT-IDR-D0 IS50A-1KW-RMT-IDR-D0 IS50A-1KW-RMT-IDR-D0 IS50A-1KW-RMT-IDR-D0 IS50A-1KW-RMT-IDR-D0 IS50A-1KW-RMT-IDR-D0 IS50A-1KW-RMT-IDR-D0

Traceable calibration:

Logo nist

Available with

Logo Integra

Product family key features

CUSTOM-BUILT

Contact us with your requirements for a version tailored to your needs

High average power

The water-cooled joulemeters can handle high average powers.

Resistant coating

Our proprietary coating is designed to be strong. Its damage thresholds are orders of magnitude higher than any other "white" coatings on the market.

Precise calibration

The IS detectors have a NIST-traceable calibration for their entire calibrated spectral range.

CHOICE OF OUTPUT

The IS-RMT detectors are available with four output options:

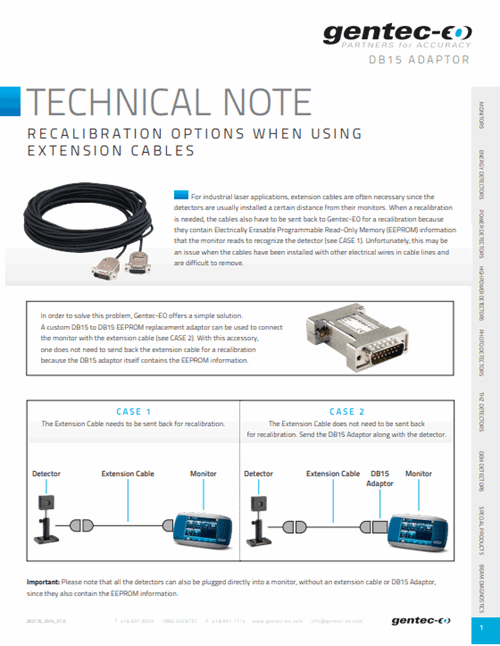
  • Smart DB15 connector containing all the calibration data
  • INTEGRA with USB output (-INT)
  • INTEGRA with RS-232 output (-IDR)
  • INTEGRA with USB output and external trigger (-INE)

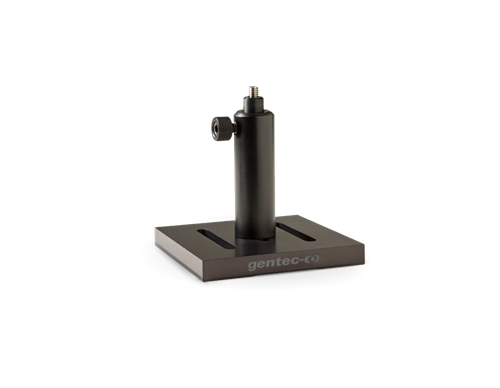
Compatible stand

Included

  • Calibration certificate

  • Personal wavelength correctionTM Certificate

  • Protective cover for optical surfaces

Measurement capabilities

  • Spectral range

    0.19 - 2.5 μm
  • Typical rise time

    30 µs
  • Repeatability

    ±0.5 %
  • Maximum repetition frequency

    1000 Hz
  • Maximum measurable energy

    1 J
  • Noise equivalent energy1

    1 mJ
  • Maximum pulse width

    10 μs
  • Energy calibration uncertainty2

    ±4 %
  • Maximum incidence angle

    ± 25° for beam diameter < 12mm, ± 5° for beam diameter > 12mm
  • Maximum divergence

    10° (half-angle)
  • Back reflections

    12 %, concentrated in a cone with 15 degrees half-angle
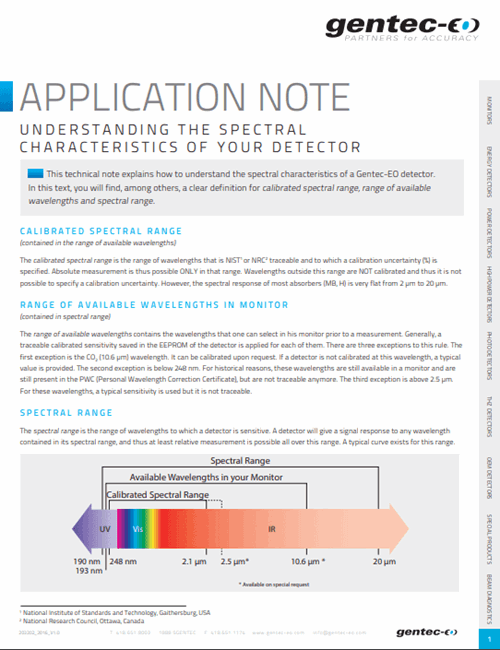
  • Calibrated spectral range

    532 nm and 1064 nm
    • 1. Typical value
    • 2. At 532 nm and 1064 nm

Damage thresholds

  • Maximum average power density1

    5 kW/cm²
  • Maximum energy density2

    400 mJ/cm²
  • Maximum power

    1 kW
    • 1. At 1064 nm, CW
    • 2. At 532 nm and 1064 nm, 7 ns

Physical characteristics

  • Cooling

    Water
  • Aperture diameter

    50 mm
  • Absorber

    Pyroelectric
  • Dimensions

    127H x 140W x 115D mm
  • Weight

    4 kg

Diffused back-reflections confined in an angular cone

While thermal detectors and water calorimeters diffusely reflect 10% to 15% of the incoming light in a Lambertian manner, integrating spheres of the IS series reflect only 6% to 12% more directionally through their optical aperture. This helps improve safety in the measurement environment by making it easier to deal with back reflections.

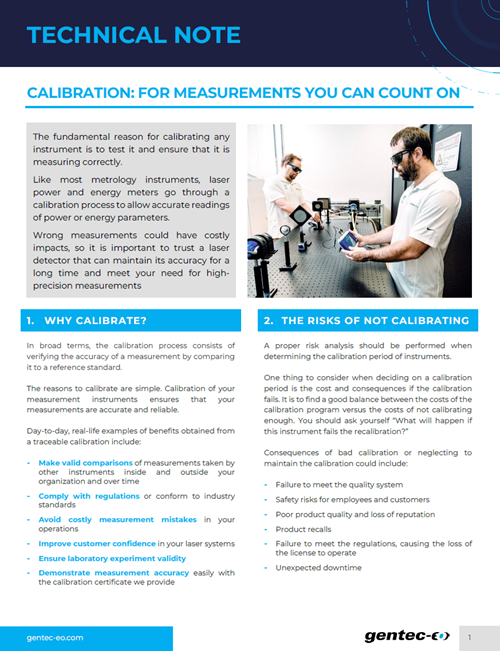
NIST-TRACEABLE CALIBRATION INCLUDED

Traceable calibration provides the ability to trace the readings of laser output measurements to known international measurement standards determined by the National Institute of Standards and Technology (NIST). This ensures that the measurements taken by the instruments are reliable and accurate.

Benefits include:

  • Make valid comparisons of measurements taken by other instruments inside and outside your organization and over time
  • Comply with regulations or conform to industry standards
  • Avoid costly measurement mistakes in your operations
  • Improve customer confidence in your laser systems
  • Ensure laboratory experiment validity
  • Demonstrate measurement accuracy easily with the calibration certificate we provide
 

Optional INTEGRA (USB or RS-232) output

When you choose the INTEGRA output option you get an all-in-one measurement instrument that combines both the detector and the meter in one convenient product. Plug the detector in your PC, install our free software and start measuring.

Why choose it?

  • The most cost-efficient solution
  • Same measurement performance as our other solutions
  • No compromise on interface functions and features
  • Compact solution for OEM applications and field servicing
  • Save money on recalibration with an all-in-one instrument
 

Related videos

All videos

Compatible products you may need

Your item has been added to your cart!

You might need these specific products to be able to use the placeholder only.

Compatible products

No compatible product

Check if this product works for your laser

Measurement type:

1

Beam size

2

Laser type

3

Beam profile

COPYRIGHT ©2024 Gentec-eo Spektrum média